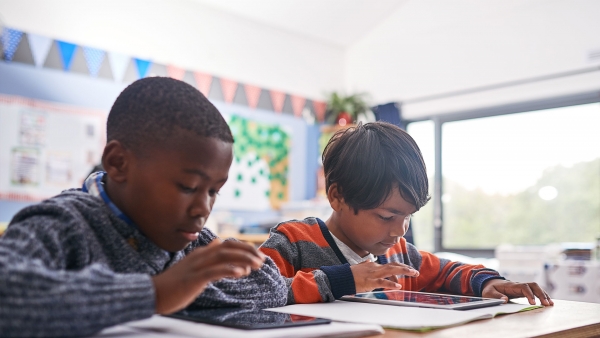
Following months of virtual schooling and tuning in to a device for synchronous and asynchronous learning, many teachers and students have been happy this year to move away from digital experiences and return to analog learning activities.
Many elementary school activities engage children in hands-on, dynamic activities that do not require the use of technology, limiting how much time students spend in front of a screen. However, there are ways that technology can develop and sustain unique learning opportunities in schools.
As an educational technologist, I collaborate with teachers to implement technologies that improve student learning. I’ll talk about and share examples of how teachers can use technology in the classroom to provide instructional guidance and support, encourage students’ self-reflection, and spark creativity.
USING TECHNOLOGY AS AN INSTRUCTIONAL TOOL
Teachers can create short audio or video clips to supplement and extend classroom instruction. Many teachers have discovered how simple it is to create a short video that students can use to review a concept or reread a set of instructions while participating in remote learning.
You can create detailed instructions or give information to guide students through a series of exercises for a lesson or project. Plan a class activity in which students, for example, rotate among different stations (individually or in small groups) to complete a series of independent tasks.
Each station could have its own device, such as an iPad or a Chromebook, where students can review prerecorded instructions or rewatch brief presentations while doing activities at that station. You might create a screencast as a tutorial or explain the steps to completing a math review worksheet.
STUDENTS USING TECHNOLOGY TO SELF-REFLECT ON THEIR LEARNING AND PROGRESS
Students can use technology to keep track of their progress. They can use images or a short video to document special classroom moments, activities, projects, or presentations, and then create a presentation that highlights their learning from these snapshots.
For example, a third-grade student learning about the composition of a cell could create a presentation that included a photo of a cell diagram, descriptions of why certain parts of a cell were included, explanations of what materials were used to create the cell model, and a written reflection of what they learned about the parts of a cell. For a framework of how to write a self-reflection, you can provide students with protocols such as Project Zero’s thinking routine “I Used to Think… Now I Think.” John Spencer’s blog post about digital portfolios is another resource you can use to prompt students’ self-reflection.
To help students develop their metacognitive skills, you can combine learning snapshots with opportunities for their self-reflection. During a large or small group presentation, students can present a slide show with voice-overs or explain what they were doing and what they learned at the moment. They can respond to questions such as “Did this learning experience make you feel successful?” and “What would you do differently next time?” Students can revisit these reflections later in the year to assess and celebrate their progress.
In one upper elementary classroom I visited, for example, students were trying out different study strategies to see which ones worked best for them. After they completed a formative assessment activity, the teacher asked them to reflect on whether they had felt successful throughout the assessment activity because of using study strategies.
The teacher asked students to identify which strategies they used and whether they thought the strategies were effective in helping them explore new content and ideas. One student described how using flash cards and rereading a chapter helped her prepare for and pass a science quiz.
You can allow students to reflect with fewer specific prompts as they become accustomed to considering their work and feel comfortable exploring how they think throughout a learning experience.
USING TECHNOLOGY TO PROVIDE CHOICE AND SPARK STUDENTS’ CREATIVITY
You can design projects that allow students to choose how they want to use technology. Students can create digital art by using various websites and tools. They can create original artwork or learning resources such as math manipulatives using classroom art supplies and then record a brief video explaining or displaying their work.
Comic strips, slide shows, green screen images, infographics, timelines, digital posters, videos, podcasts, mini-portfolios, and video book talks are other forms of digital student creation. When students combine these various modalities, they have even more opportunities for creativity and self-expression.
With the help of technology, sharing digital creations like these is simple. Google’s share settings can publish Google Slideshows or documents. Google Sites is also an excellent tool for students to keep track of their assignments. Students can include video, images, Google Drive files, PDF files, and much more on a Google Site. Microsoft Office 365 tools, Flipgrid, and Padlet are some of the other platforms for creating, curating, and sharing student work.
When using technology in the elementary classroom, be judicious and intentional. Before implementing it, consider your goals for using it and whether it provides a functional improvement to a learning task. Documenting student learning, providing extra student support via audio or video, and enhancing student creation capabilities are all excellent ways for technology to improve the teaching and learning process.
By Avra Robinson


